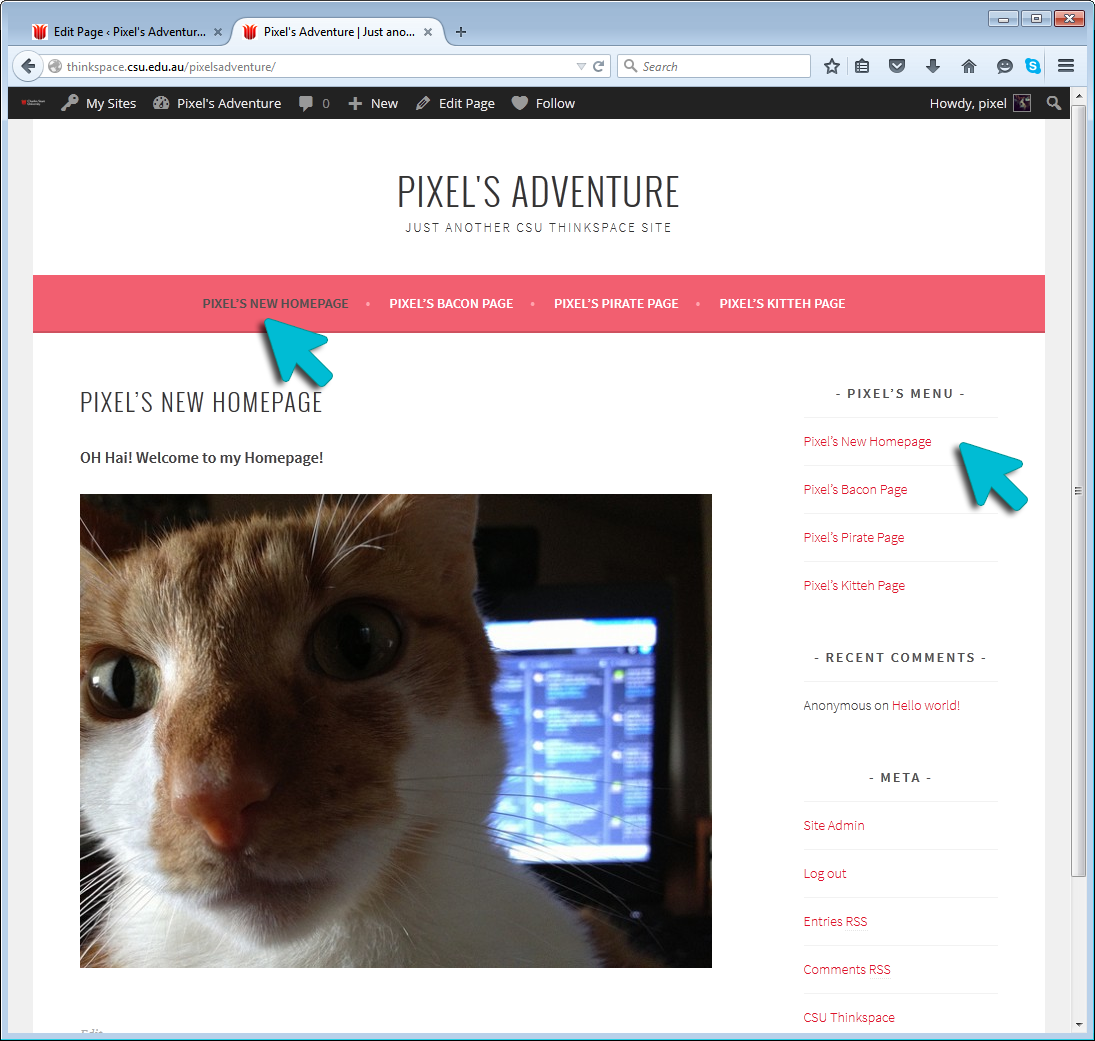
Setting up Menus
Most themes in the Thinkspace collection support custom menus which allow you to customize your navigation menu and/or add a top navigation to your site.
This allows you to:
- Re-arrange, add, and remove items from the menu bar at the top of your site
- Change the order of links in your navigation menus
- Create nested sub-menus of links (sometimes known as ‘drop down’ menus)
- Publish posts to different pages on your blog using post categories. This is handy if you want to categorize posts for each subject you are studying and posting on subject pages
- Add custom links to another website in your navigation menu – eg. your social media pages or another personal website.
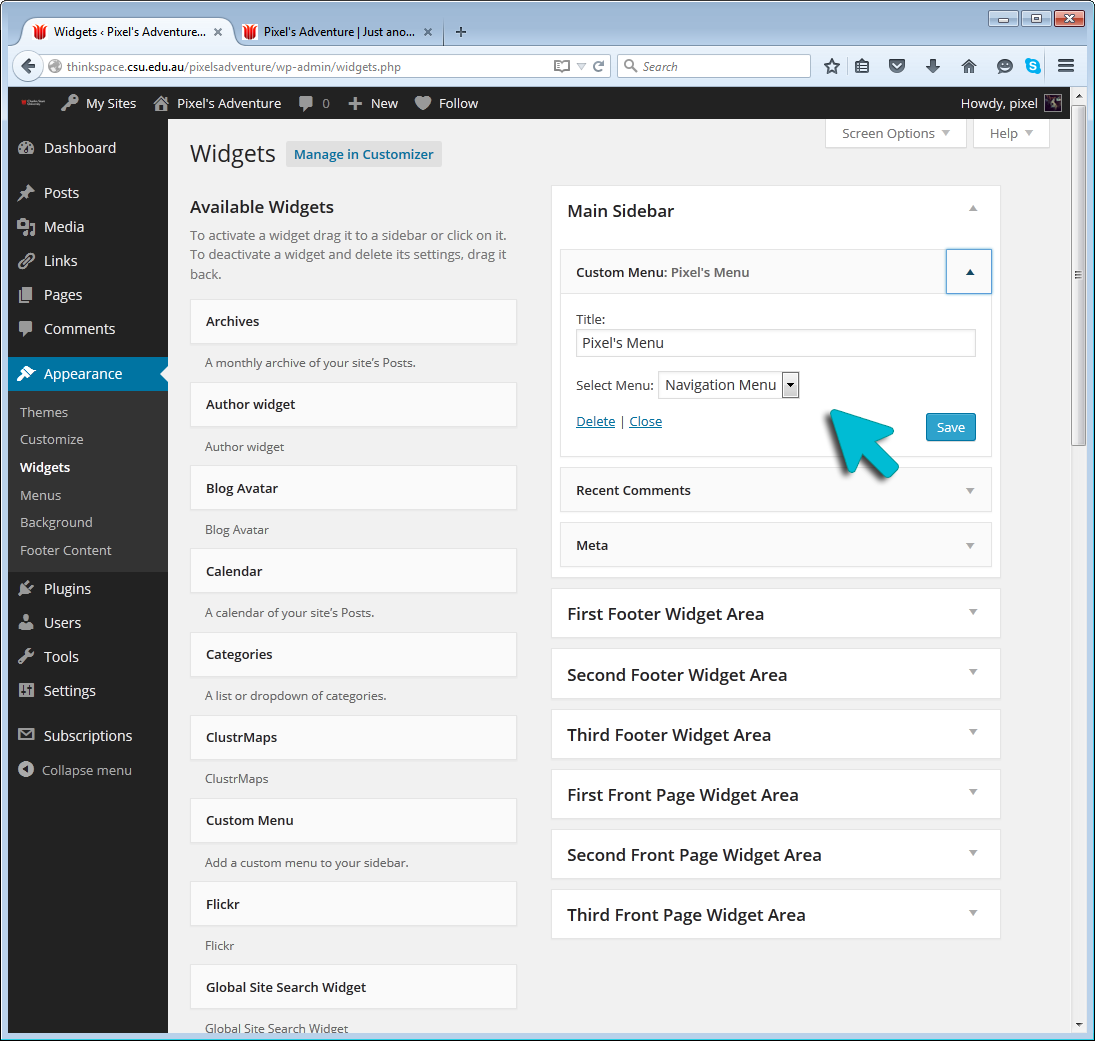
- Create a custom menu for your sidebar.
Create a custom menu
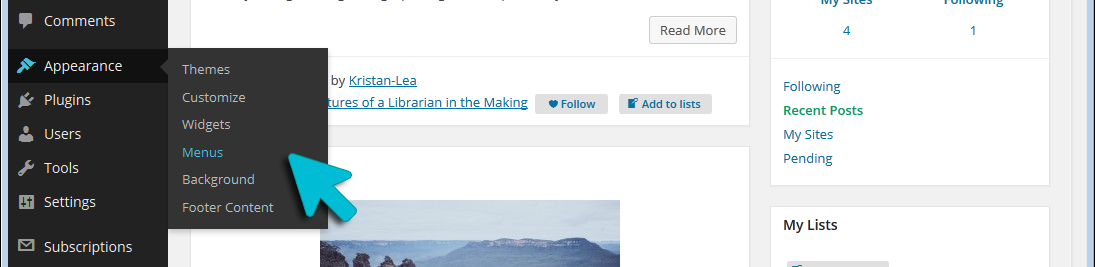
Step 1: Rollover the ‘Appearance’ button in your Thinkspace site dashboard and choose ‘Menus’.
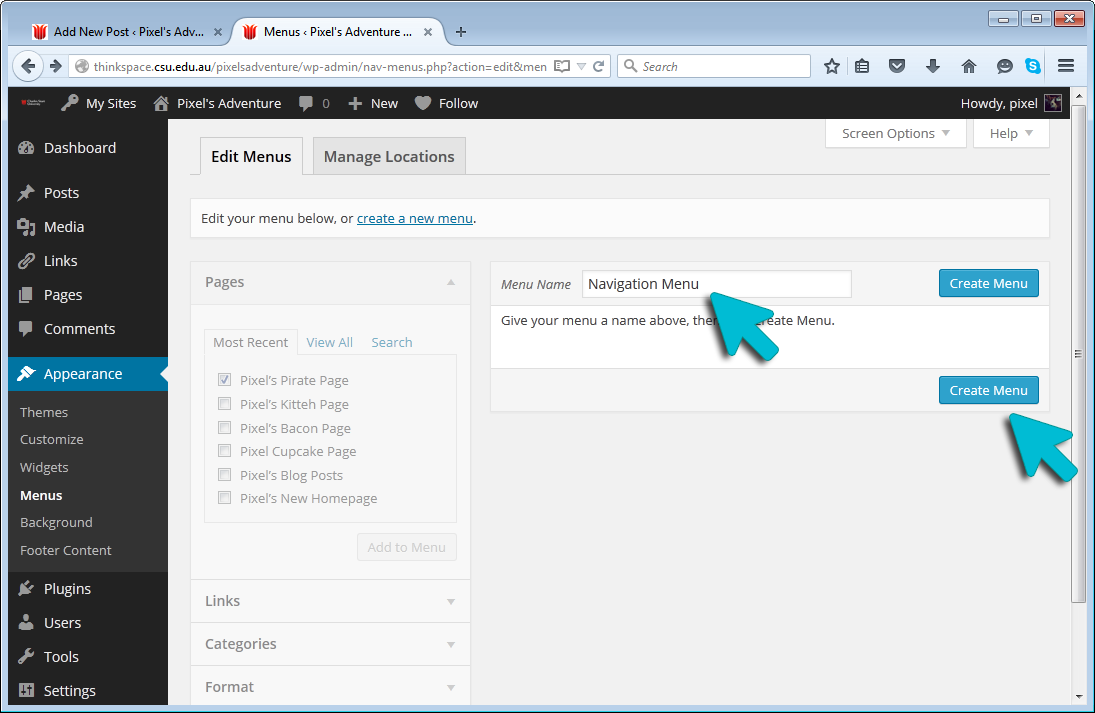
Step 2: Give your menu a name – eg. Navigation Menu, and click the ‘Create Menu’ button.
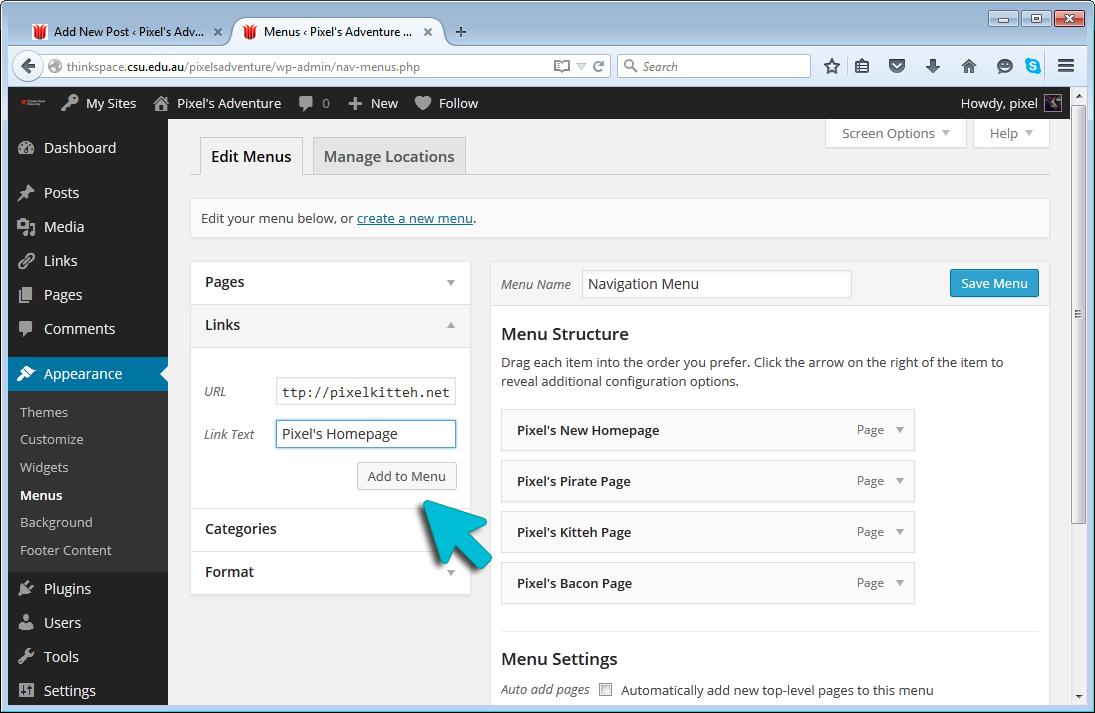
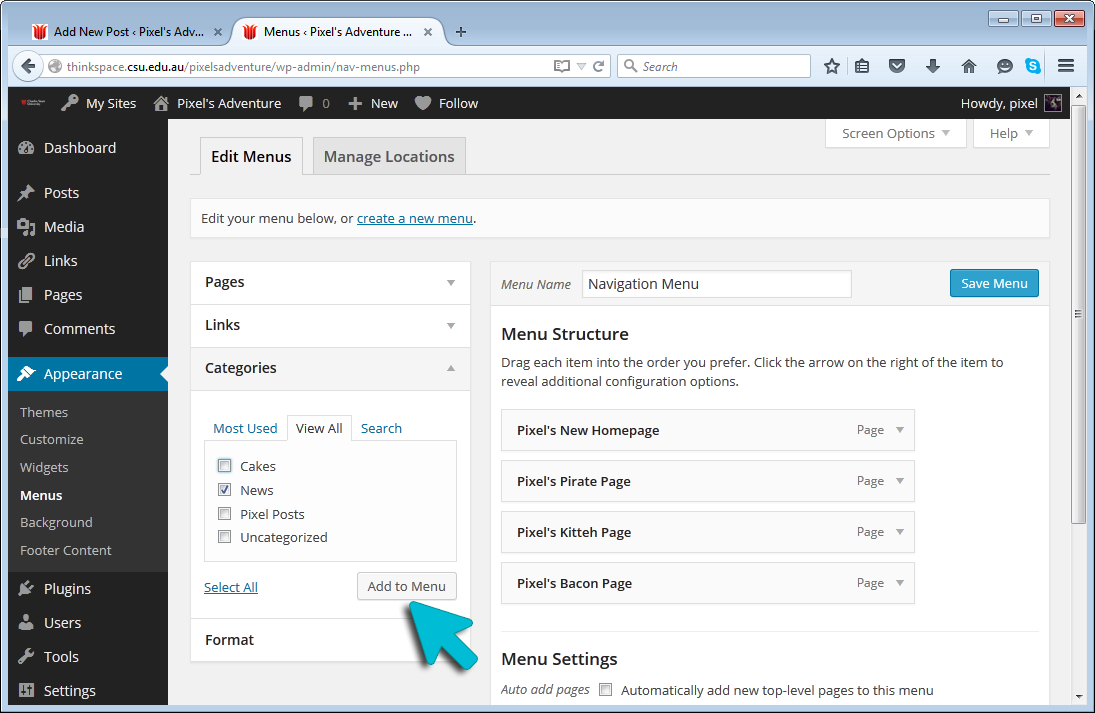
Step 3: Populate your Menu with Page links, Custom Links or Categories using the tools on the left side of the page.
Adding Links to Pages

Adding Custom Links
Adding Category Links
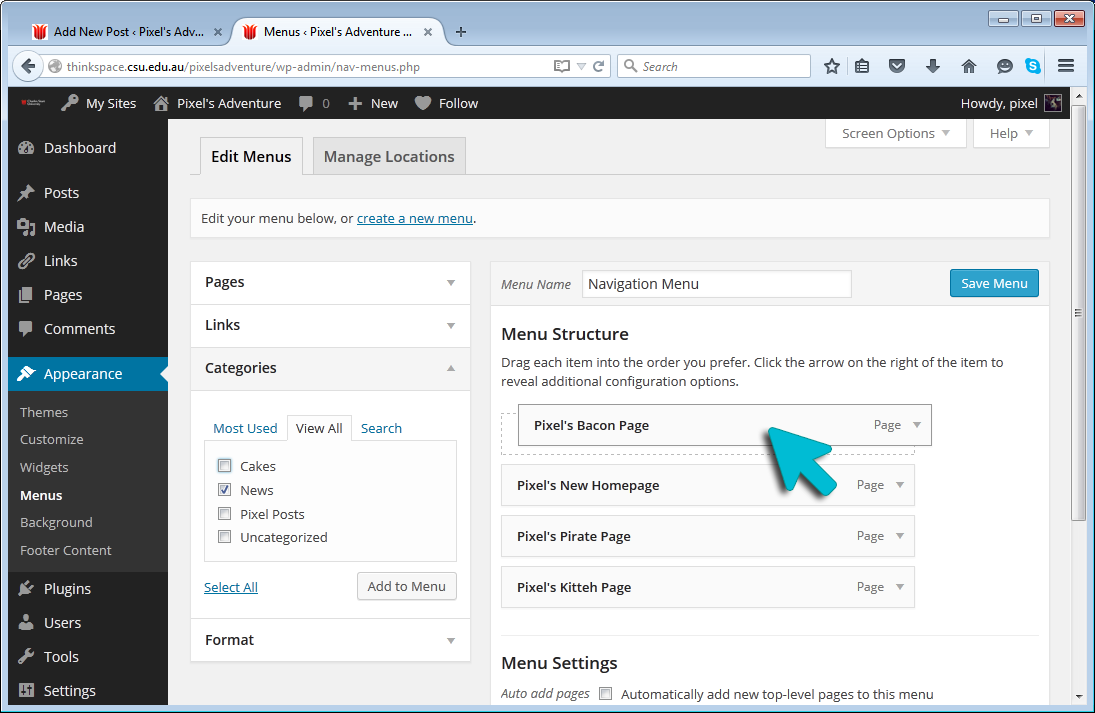
Step 4: Order your links as you’d like them to appear in your menu by dragging and dropping the items into the correct order.
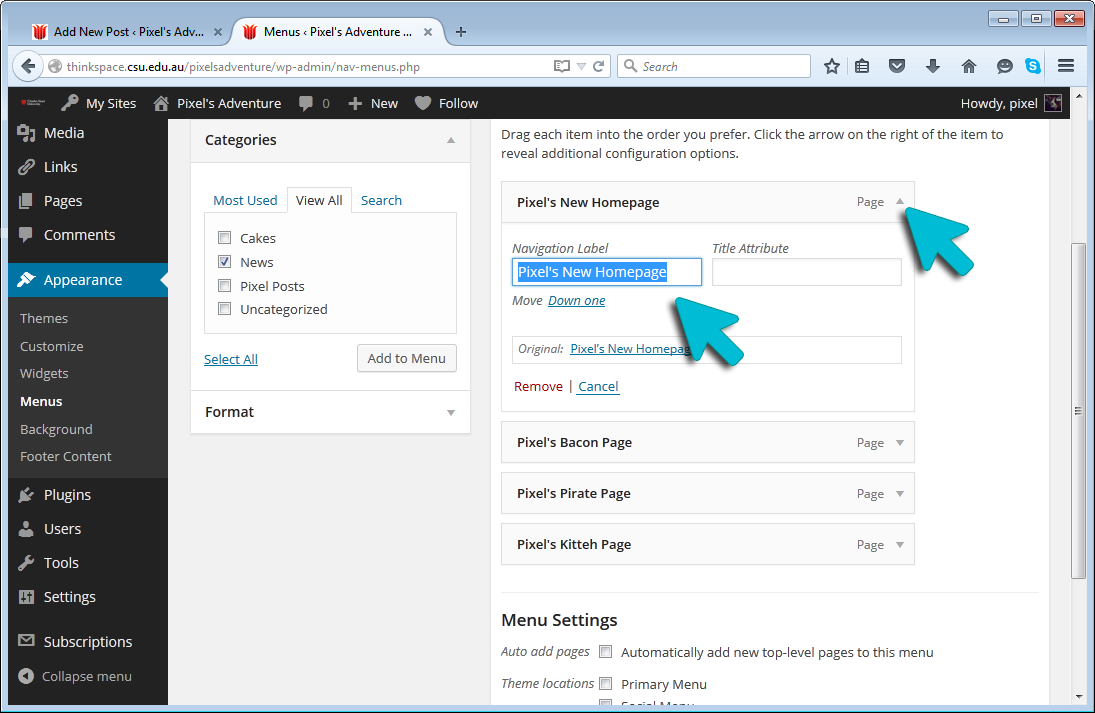
Step 5: Customize the text for menu items as required – eg. the homepage could be called ‘Home’ to save space in your menu.
Step 6: If you are creating a navigation menu, choose which theme location your menu you appear in – eg. Primary Menu.
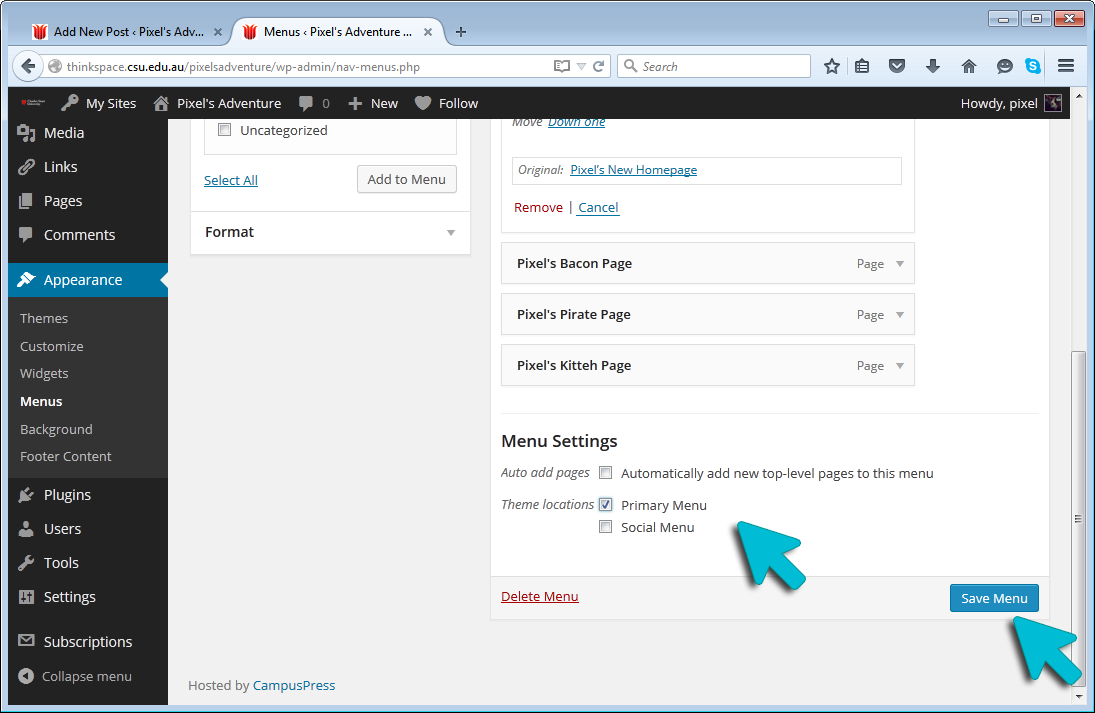
Click the ‘Save’ button to complete your menu and apply the settings to your site.
Step 8: If you are creating a menu to appear in your sidebar, use widgets to place it in the appropriate widget area. Use the ‘Custom Menu’ Widget.
Complete: Your Custom Menu is now complete and will appear as selected on your published site.