How to use the CSU Thinkspace Dashboard
The first screen you see when you log into your blog is called the Dashboard. Your dashboard provide a quick overview of what’s happening on Thinkspace, as well as supplying tools to navigate to other areas of the Administration panel.
Explore the tools below:
CSU Thinkspace Default Dashboard
When you login you will taken to the Main Dashboard for CSU Thinkspace.
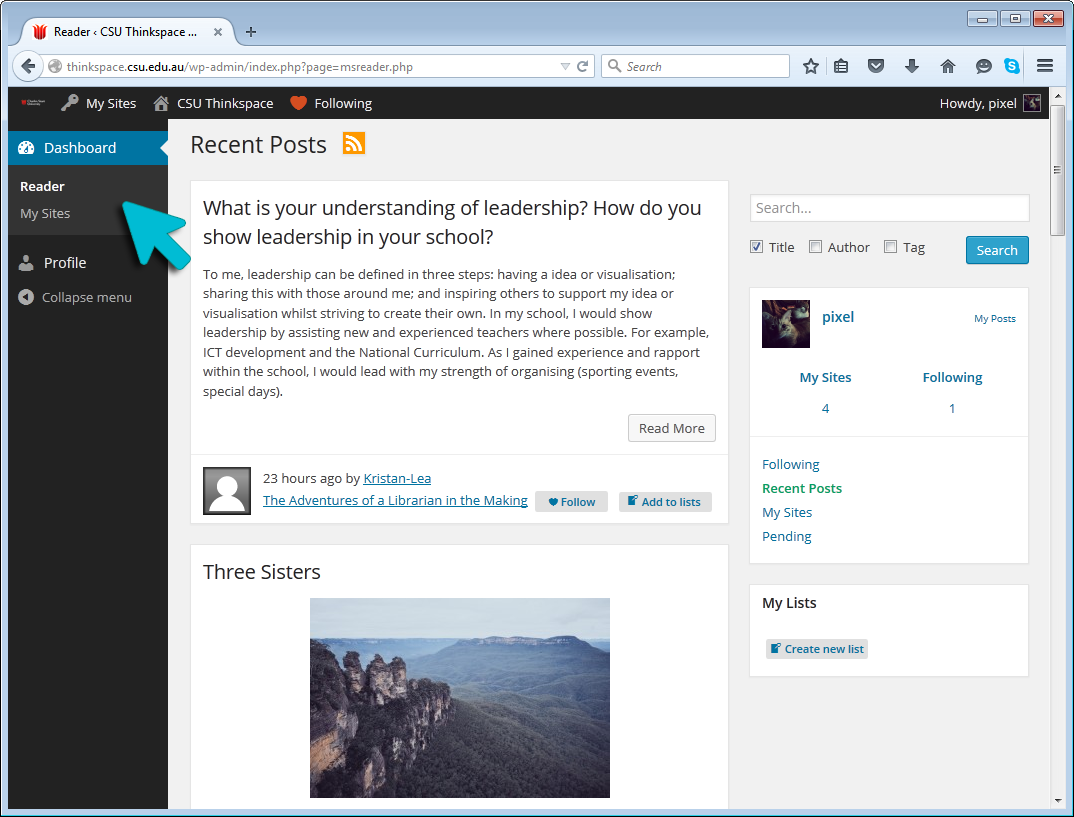
In the menu on the left you will find links to ‘My Sites‘ and ‘Profile‘.
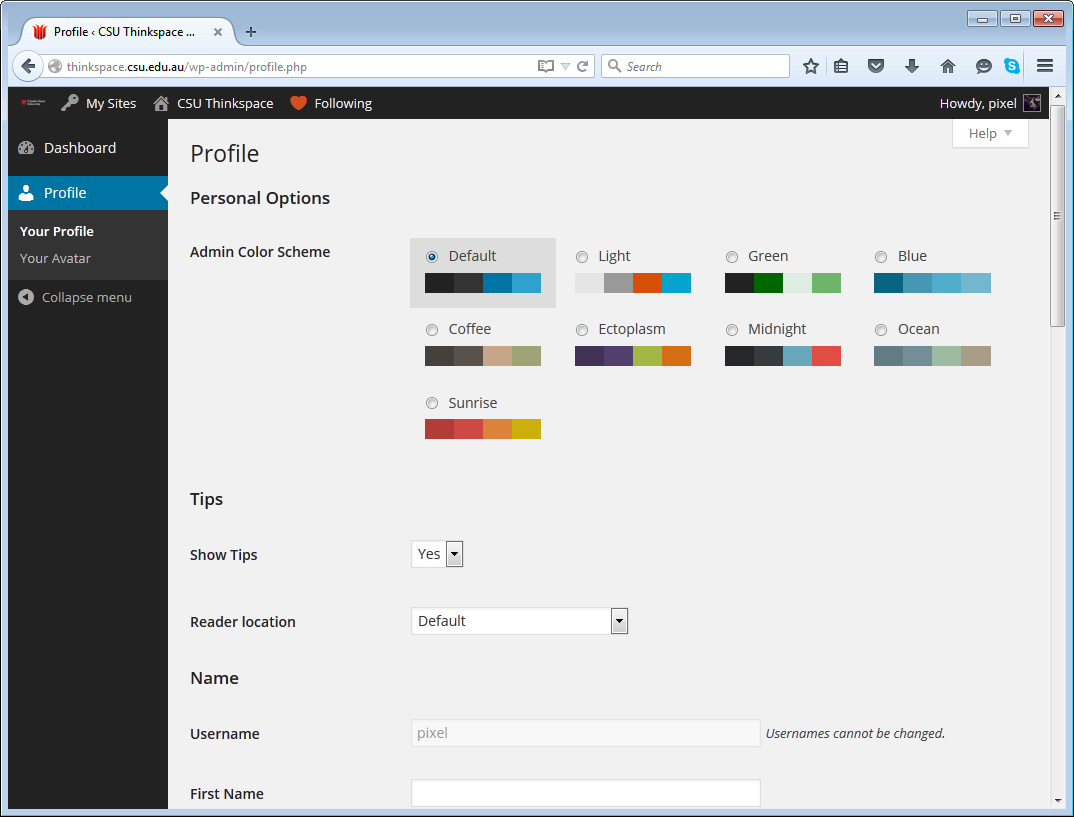
Your Profile
To access your Profile, click on the Profile button. This page provides information about your account and includes tools or changing the look and feel of your dashboard, your display name, avatar and password.
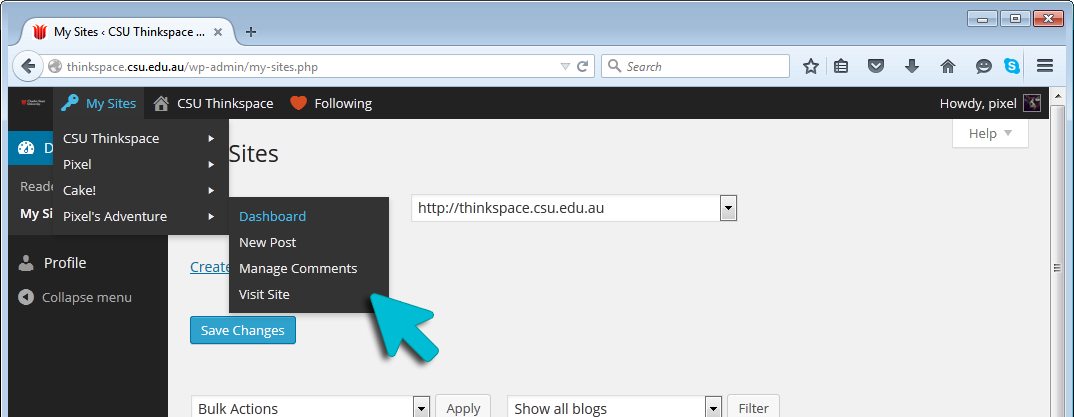
My Sites
To locate your site(s), click on ‘My Sites‘. You will see a list of all the sites you are a member of (this will include any personal site(s) you have created and any group sites you are a member of).
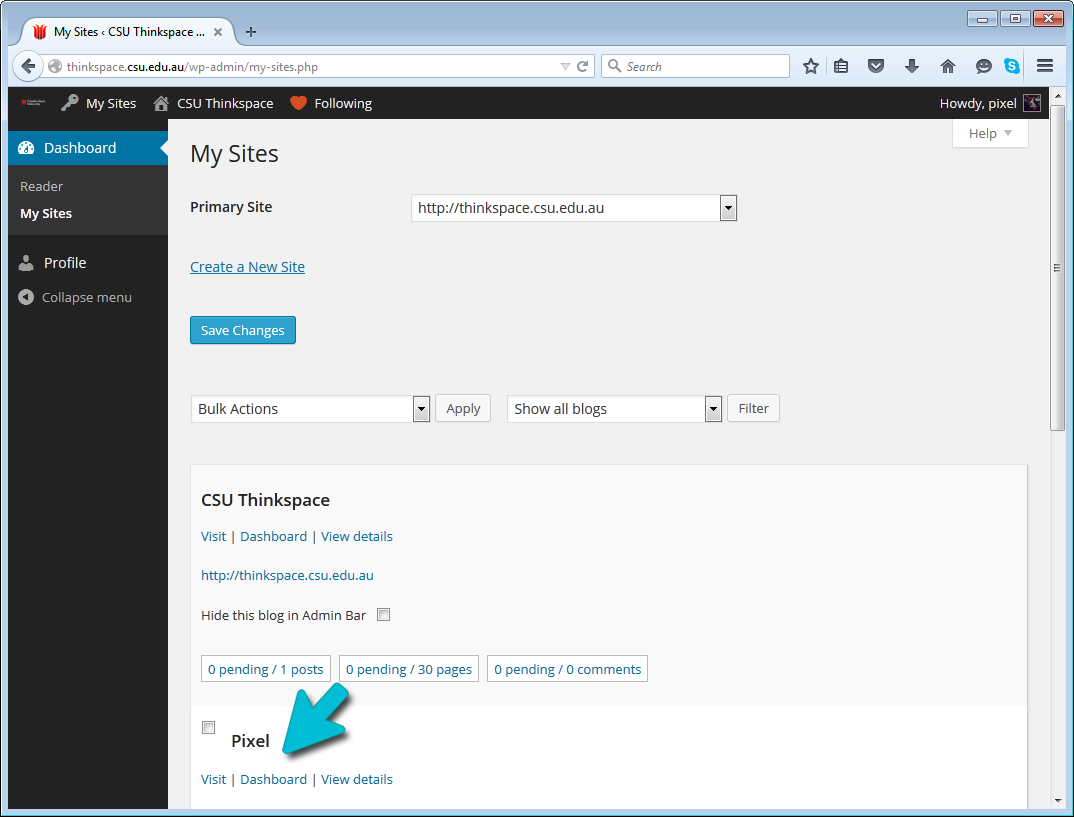
To access the dashboard for a specific site so you can edit it, click on the ‘dashboard’ link under each site title.
You can also access your site(s) dashboard via the ‘My Sites’ menu at the top left of the screen.
Your Site Dashboard
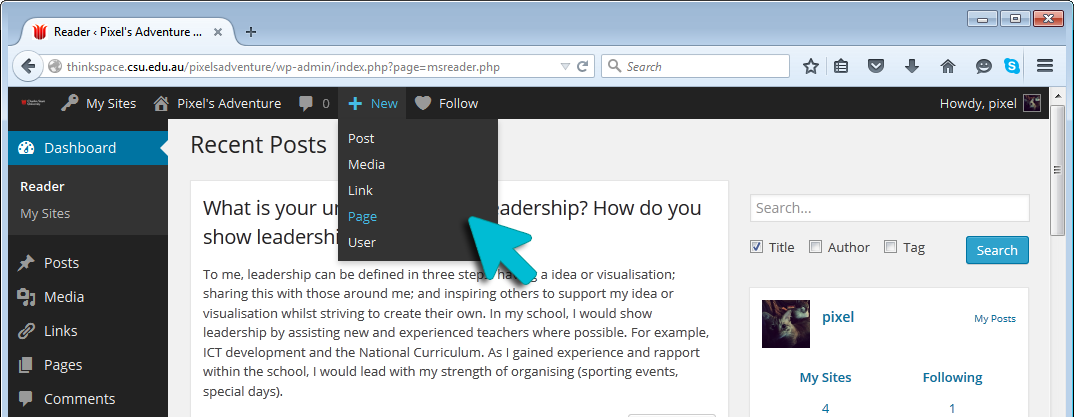
Each of your sites on Thinkspace has a dedicated dashboard that includes a tools menu on the left hand side.
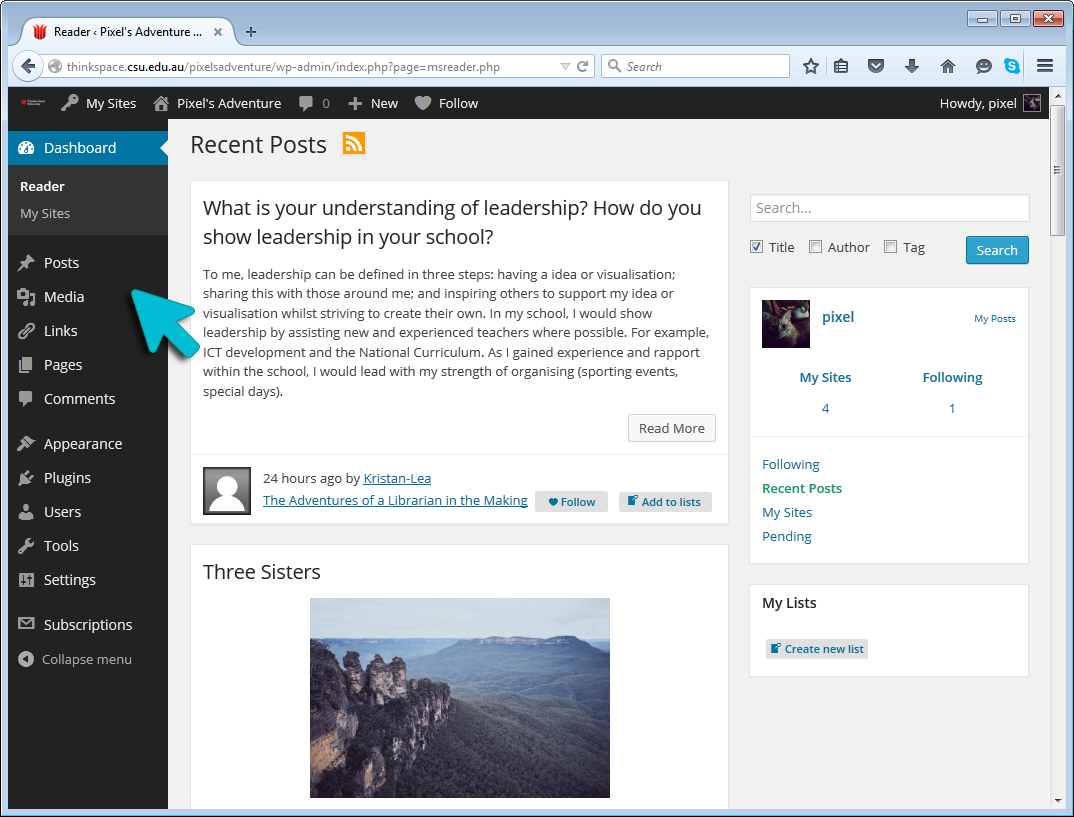
You can use to edit your site, approve comments, setup themes, widgets and plugins and add or delete users.
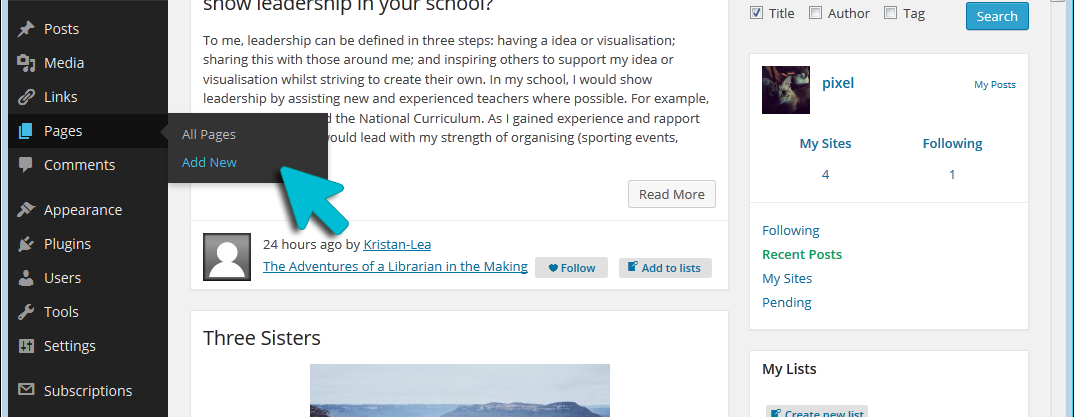
Hovering your mouse over a menu item displays all the submenu options under that item.
For example, to write a new page hover your mouse over the ‘Pages’ Button and click on ‘Add New’.
Admin Bar
You also have a gray admin bar at the top of your blog and dashboard which you can use to navigate to different areas inside your dashboard.