
Create Your Home Page
By default, your Thinkspace site is setup as a blog. The home page shows your latest posts listed chronologically.
However, when setting your Thinkspace site as a more traditional website, you may prefer your site to show a static homepage with introductory information, and links and images that lead to the underlying content.
To create a Homepage on your Thinkspace site, follow the steps below:
Below are some scenarios where it would be helpful to use static front pages:
- Learning Resources: Use a static page to show the modules you wish students to engage with, and links to forums and resources to support their learning.
- Business Pages: Use a static front page to show the most important things and use posts to roll out your news and updates.
- Non-profit Website: A static front page allows you to talk about your cause and include a donate button or a call to action.
- Portfolios: Use a static front page to list the basic facts about you, link to your resume and examples of your work.
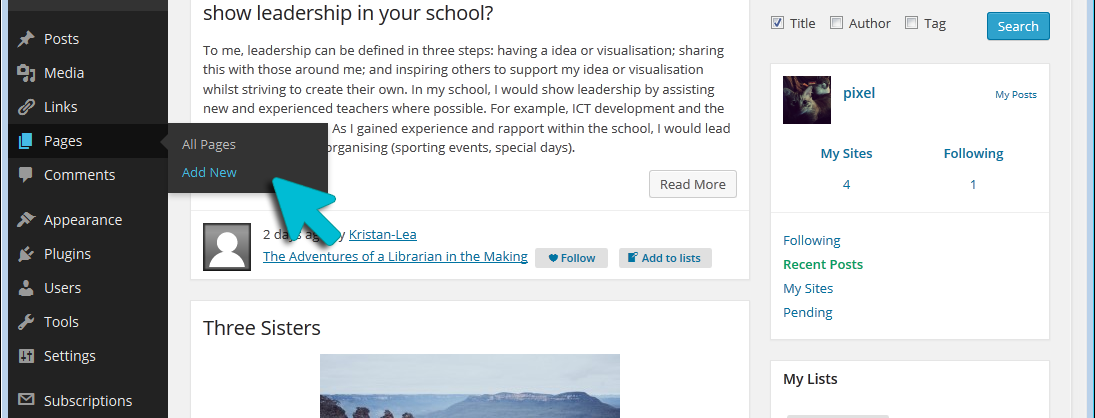
Step 1: Create Pages
Visit the Thinkspace Dashboard. Rollover the ‘Pages’ button in the menu on the left of your dashboard and choose ‘Add New’
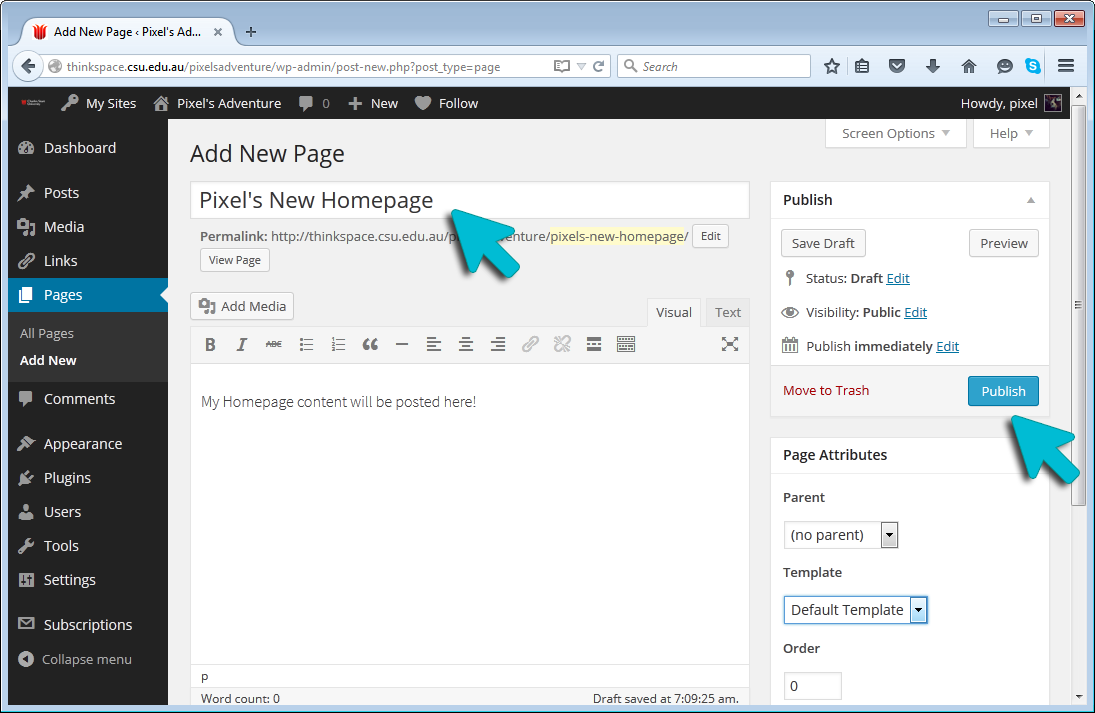
Give your Homepage a name (eg Home) and click the ‘Publish’ button.
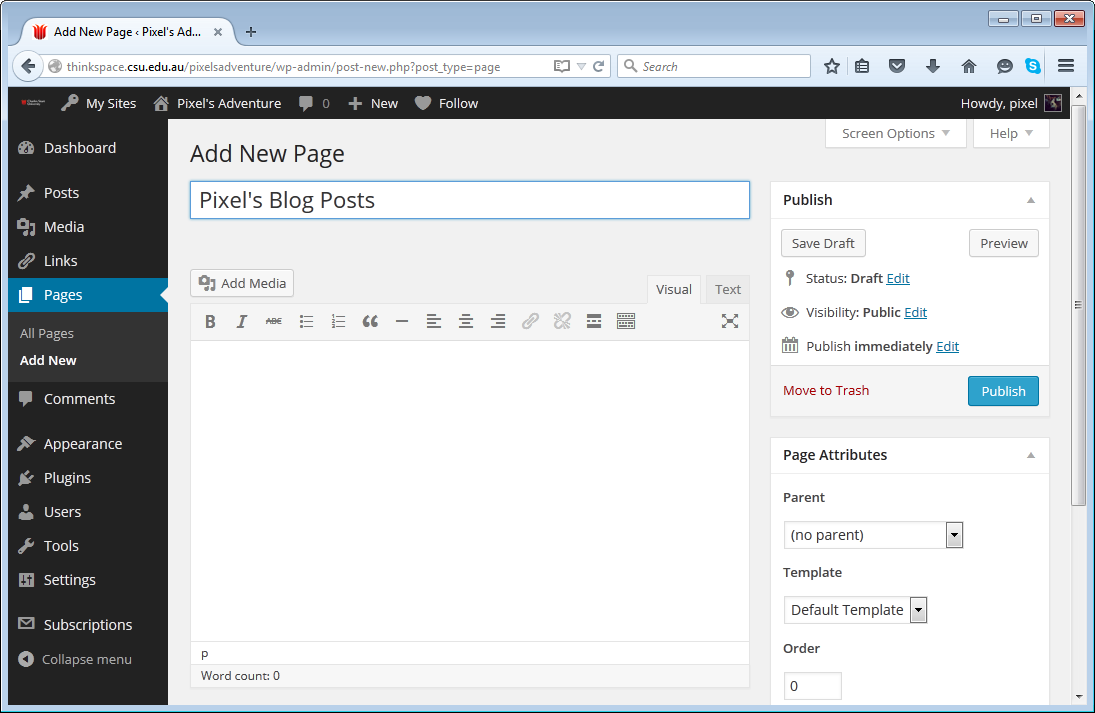
Repeat this step to create a page where your Blog posts will appear.
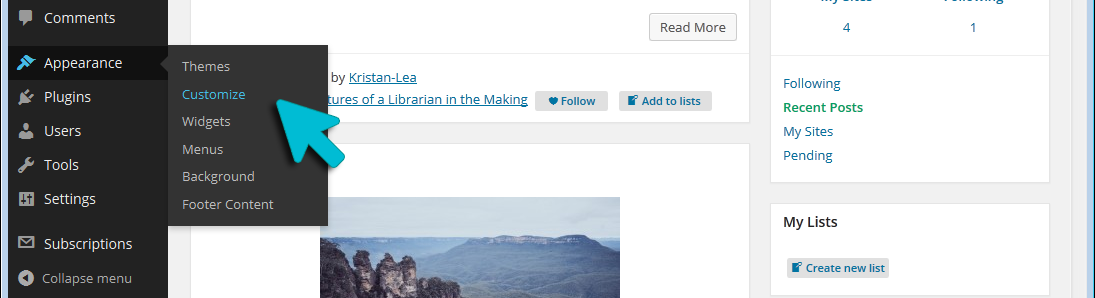
Step 2: Setup your Homepage.
Return to the Thinkspace Dashboard. Rollover the ‘Appearance’ button in the menu on the left of your dashboard and click on ‘Customize’.
Choose ‘Static Front Page’ from the Customizing options on the left and set your site to ‘A static page’.

Select the Page you wish to set as your homepage from the drop down menu, then select the page you wish to set as your Posts Page.
Step 3: Save Changes
Click on the ‘Save and Publish’ button to complete the process and publish your changes.